
One of my favorite aspects of the Prism 2 design is its ability to be configured in different ways to accommodate different diving styles. We have 3.5 and 2.5 liter counterlungs available, inhale counterlungs with manual diluent addition valves in addition to the standard ADV’s, and soon we will introduce a back-mounted counterlung design for those needing a clean chest for their dives.
I recently changed my Prism 2 to a “valve-up” configuration to see if having the heaviest part of the tanks (the valves) up at my shoulders similar to a doubles setup instead of down by my rear would help with a trim problem some of us suffer; the heavy leg tail dragger.
When I first decided to try inverting the tanks, I left the hoses as they are shipped from the factory for a valve-down configuration. Due to the fact that the hoses no longer had to come up over my shoulder, I felt like a hot mess with so much extra hose length sticking out all over the place. The birds nest of extra hose length was so distracting that I ended the dive, went back to my garage shop and rifled through my hose bin until I came up with standard length hoses closer to a proper fit. Ina few cases there were some hose lengths I didn’t have so I made due with some creative hose wrapping.
I only had aluminum 19 cu ft tanks handy for my confined water trials and once I got the system built, the first thing I noticed was because of the flat bottom of the aluminum tanks, the P2 stood up nicely on its own. I knew once I got to Cozumel where I was going to really put this configuration to the test I would be using 21 cu ft Faber steel tanks with rounded bottoms so I would lose that nice feature.
The first drill I executed once I was comfortably in confined water was a valve shut-down. Getting both tank valves turned off wasn’t nearly as easy as with the valve-down configuration (which is why it is shipped that way from the factory), but with the tanks high enough it wasn’t impossible. That had been my biggest concern from the start, as I’m not as young and flexible as I once was. I practiced the drill a few times then started concentrating on my trim. I was pleasantly surprised to find that there was a noticeable improvement over my usual fight to keep my chicken legs in trim. I moved the tanks lower and higher on the H-plate and found that if I had them too low I couldn’t reach the valves. I didn’t find a problem going higher on the H-plate but wanted to keep the tanks level with the overall unit design as much as possible. Satisfied that the configuration would be safe to dive, I packed the P2 in it’s “A-size” Samsonite carry on bag and headed down to Cozumel.
My overall impression of this configuration after 8 dives in Cozumel was very favorable. Proper trim was easy to achieve and boom drills were not difficult but not as easy as valve-down.
Here are the measurements for the individual hoses. I bought only “off-the-shelf” hose lengths to make the conversion as easy as possible.
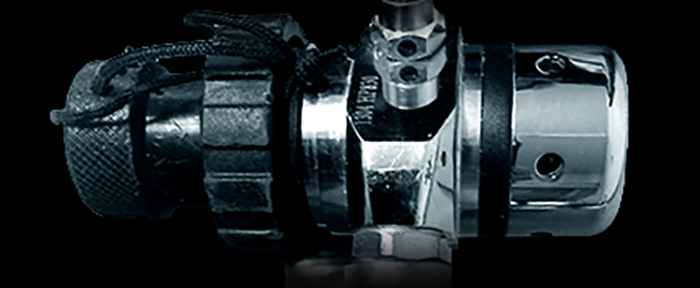
Oxygen System
Solenoid feed – 8”
O2 Manual Addition Valve (MAV) – 24”
HP guage – 30”
Diluent System
Automatic Diluent Addition Valve – 18” (with shutoff), 22” without shutoff
BCD feed – 22”
BOV feed – 36”
HP gauge – 30”

As you will see in the accompanying pictures, I ran the BCD inflator and ADV feed off an Omni Swivel Y, which is screwed directly into the first stage. My one concern with doing that is it is possible that with enough force, the Omni Swivel Y could shear off. I may end up putting a 6” hose in front of the Y and shorten the BCD & ADV feeds to 18” each.
Also, it is very important that you do not run the Solenoid feed hose over top of the exhale hose. Doing so would mean any tank slippage could cut off the exhale hose making it difficult to breathe from the loop.
I would be happy to answer any questions so you can reach me at maddison@aupgear.com.
Safe diving!